What is the Adjustment Brush?
The Adjustment Brush is an editing tool in Adobe Camera Raw (known simply as ACR). This tool is possibly the equivalent of the Dodge and Burn tools in Photoshop. So what is dodging and burning? To dodge is to lighten and to burn is to darken a specific area.
What does it do?
When you make your initial global adjustments of a RAW file in ACR, more than likely, you will need to make local adjustments too. This is where the Adjustment Brush is useful for making adjustments to specific areas of your photo.
Recently, I have found I am using this tool more and more. If I am out and about just shooting for my own library, I tend to take photos slightly underexposed. This way, I can recover a lot of detail in the post editing stage. This is useful if you don’t have time for metering the shot perfectly, especially in the case where skies are involved.
How does it work?
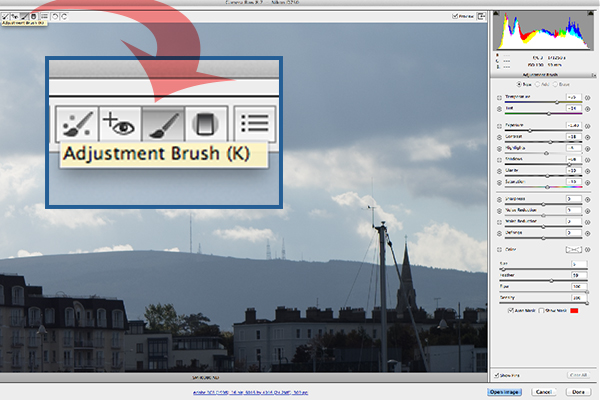
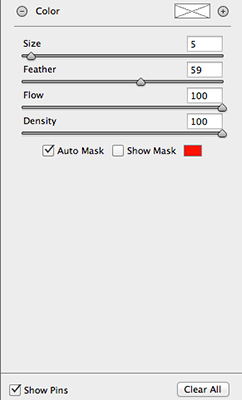
The Adjustment Brush isolates a specific area by masking it, similar to using layer masks in Photoshop. When you click on the Adjustment Brush icon, the right panel changes to the Adjustment Brush tab. The bottom sliders modify the size of the brush and you can also determine how much feather and density (flow) you wish to apply.
When you use the Adjustment Brush on a particular part of your image, a pin icon appears to determine where your adjustment has just been made.

![]()

I do find using the Adjustment Brush a bit cumbersome. But this tool definitely has its merits. Like most of the editing tools in ACR, Photoshop, Lightroom, etc., there is simply no one-click button that magically does it all.
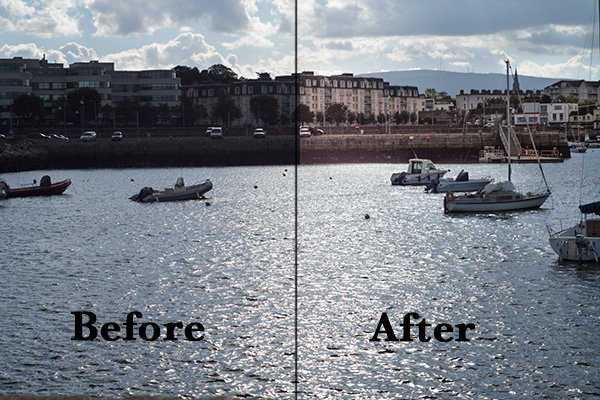
You may find with a bit of practice using the Adjustment Brush that it could speed up your editing workflow. Take for example this image that I shot of some blue containers on a pier. I made the basic adjustments in ACR. I then used the Adjustment Brush in several areas: to lighten the sky; to keep the highlights on the small white boat on the left from being blown out completely. I also used the Adjustment Brush on the wood section to give it more warmth.
