Every time a new version of Lightroom comes out the first thing I look for are features that make the Develop module better, or easier to use. The ones I like best in Lightroom 6/CC are the improvements to the Graduated and Radial Filters. Let’s take a look at them.
Addition of mask overlay
In earlier versions of Lightroom you couldn’t tell with any precision which parts of the image were affected by the Graduated and Radial filters.
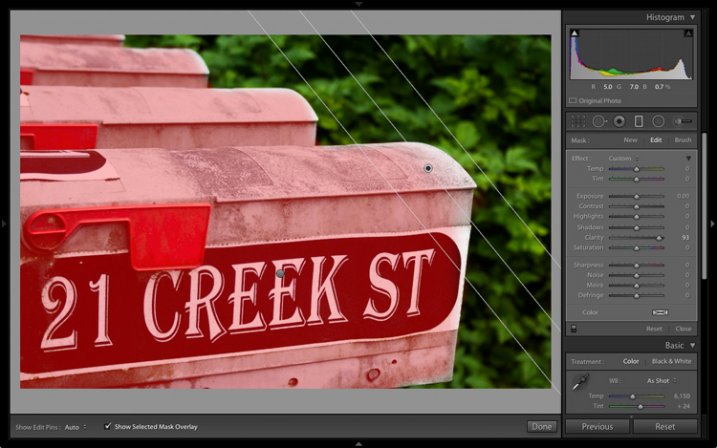
In Lightroom 6 you can toggle the mask overlay with the O keyboard shortcut, or by ticking the Show Selected Mask Overlay box in the Toolbar. Previously this was only available in the Adjustment Brush, it has now been added to both the Graduated and Radial Filters.
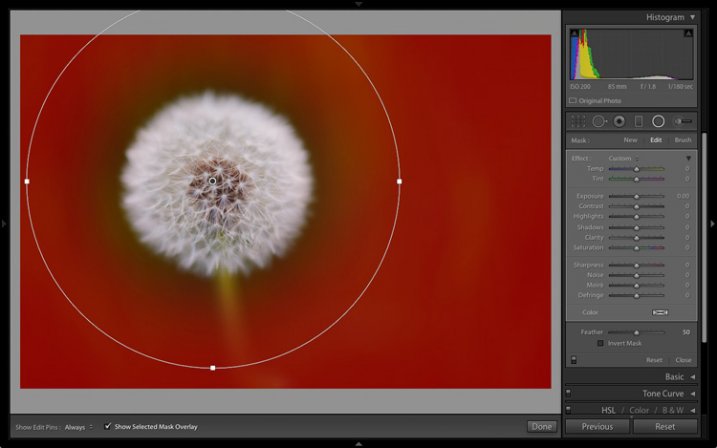
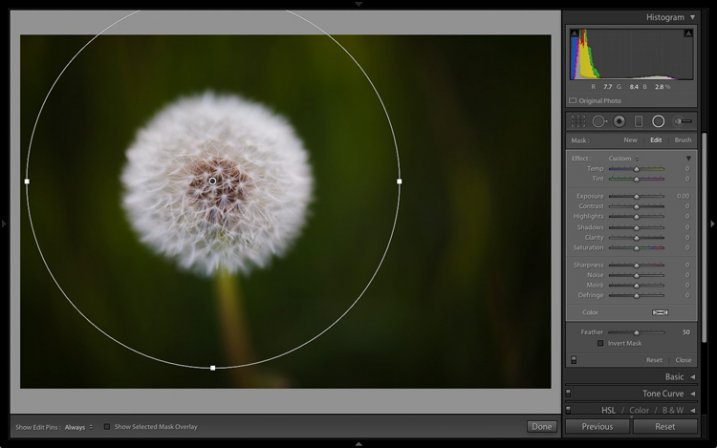
This screenshot below shows how it works. I wanted to make the background darker without affecting the dandelion head. The best tool to use for this is the Radial filter, but you need to be able to place it precisely. The mask overlay makes this easy.
As you can see, the effect of feathering meant that I needed to create a much bigger Radial filter than you might at first think.
Note: The Radial Filter was introduced in Lightroom 5 and is not available in earlier versions.


…