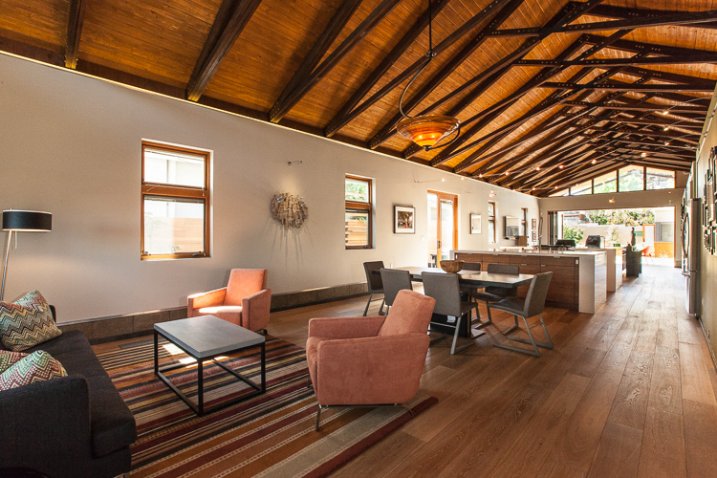
Nothing catches the eye of a potential home buyer or design client quite like a beautiful set of photos. Whether it’s for real estate agents, designers, or homeowners, expectations are high, and restrictions are often many. It’s not uncommon to have to deal with extremely short notice, very short windows of time in which to work, or to be asked for almost immediate turnaround. We, as photographers, become torn between meeting all the needs while still producing work we are proud of… and all while still making a profit! In real estate, especially, this often leads to photos that are “good enough”. But does it have to be this way?
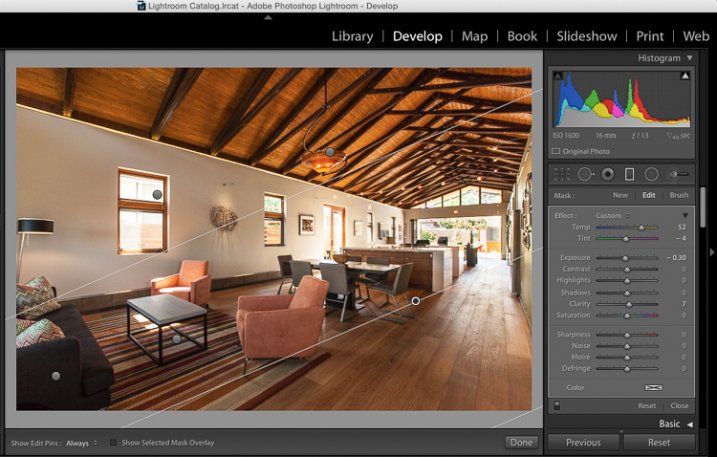
While most are aware of the basics of editing images for interior spaces, there is one tool that is often undervalued – the Gradient Filter. This can be a tremendous tool for helping to balance out fading light on the edges of a frame when you are limited on gear and are not able to balance out the light on location. Adding a few Gradient Filters onto an image can make your mundane interior photos go from acceptable to impressive, with minimal time invested. The Gradient tool is also excellent in helping to sharpen up towards the edges of the frame, helping to compensate slightly for lens distortion.
The Gradient Gilter can be found just below the histogram in Lightroom. Once applied, you can move it around by grabbing the central node, you can change the angle of it by placing cursor over center line and clicking to spin it, and you can also spread or tighten the gradient by grabbing the outermost line and moving it inward or outward. The flexibility of positioning alone is a great benefit when trying to keep editing time to a minimum.

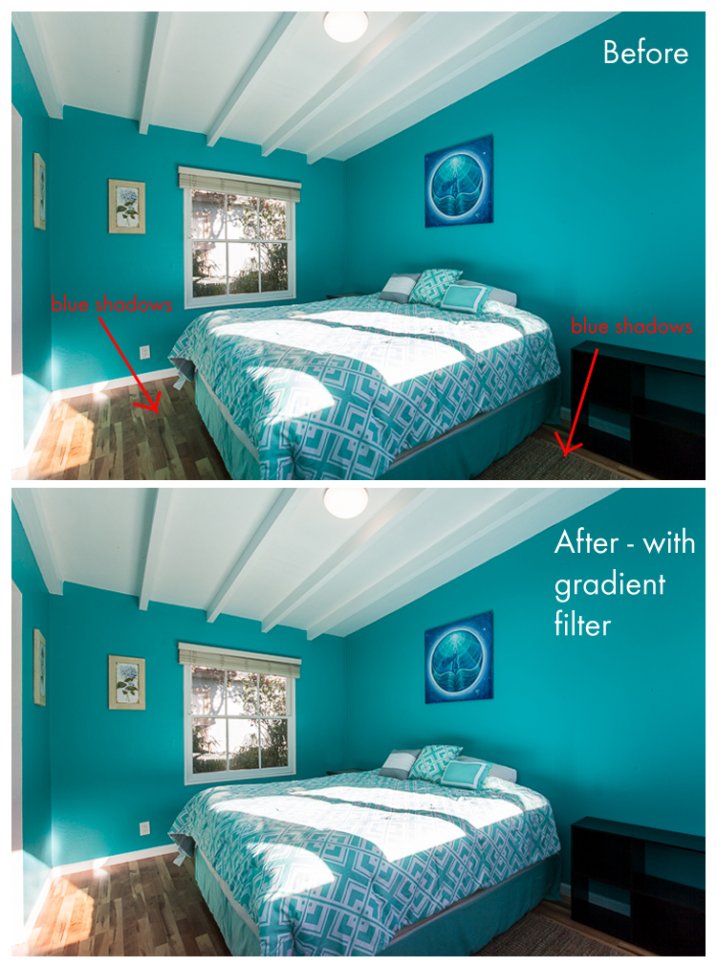
Another great quality about the gradient filter is that, unlike the lens vignetting correction (under the Lens Correction module) or the post-crop vignetting effect, the Gradient Filter can adjust many factors of the image. You can adjust exposure, temperature, tint, sharpness, clarity, and several others. This makes it a very handy tool for making subtle adjustments that would otherwise be tougher to blend in with a brush filter. In this before-and-after example, the gradient filter has been used to adjust for the blue tint in the shadows on the floor due to the bed cover. It’s a subtle adjustment that helps to elevate the quality of work.

…